
When 3D-printing ABS or other materials which tend to warp easily, it is a good idea to use a more or less enclosed build chamber:
This will avoid drafts of cold air which could ruin your print and raise the ambient temperature inside the printer a bit, which helps to reduce warping effects. Last not least, an enclosure will keep people (especially children) from touching the part, print bed or print head with their hands.
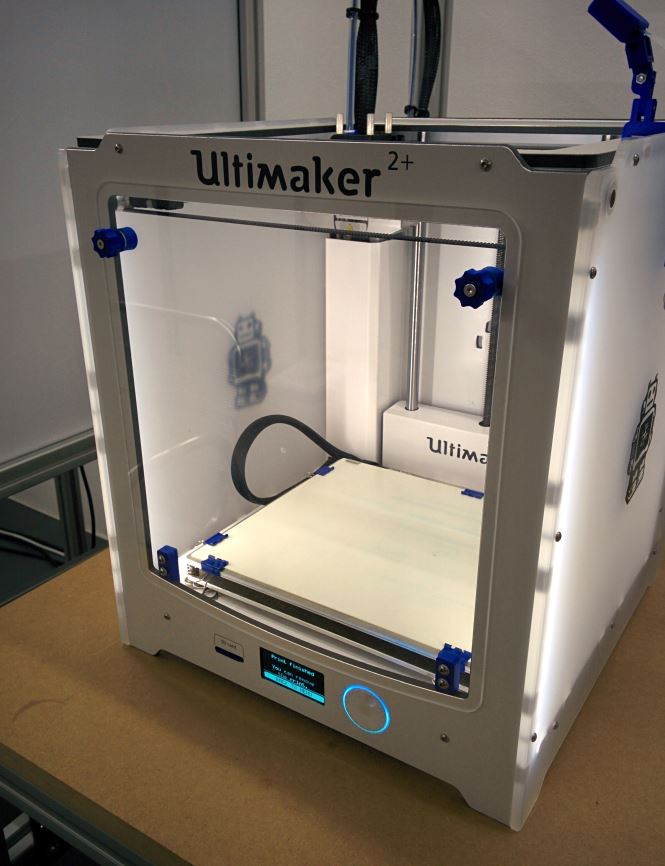
My beloved Ultimaker 2 printer already has an enclosure but lacks a door, so I decided to make one. Thingiverse and YouMagine feature many more or less suitable designs; but I did not like any of them. Thus I created my own, taking inspiration from other solutions out there.
My requirements:
- Transparent material (acrylic) so I can see what’s printing
- Non-invasive mounting; I did not want to drill holes into my UM2 or glue anything to it
- Ability to remove the door completely; especially for printer maintenance
- Secure fit of the door when mounted but easy to mount / unmount
- Not blocking access to the UM2 controller or SD card slot
Basically I downloaded the CAD model of the original UM2 front plate from Ultimakers GitHub – thumbs up for their brilliant open-source approach to their product development:
https://github.com/Ultimaker/Ultimaker2
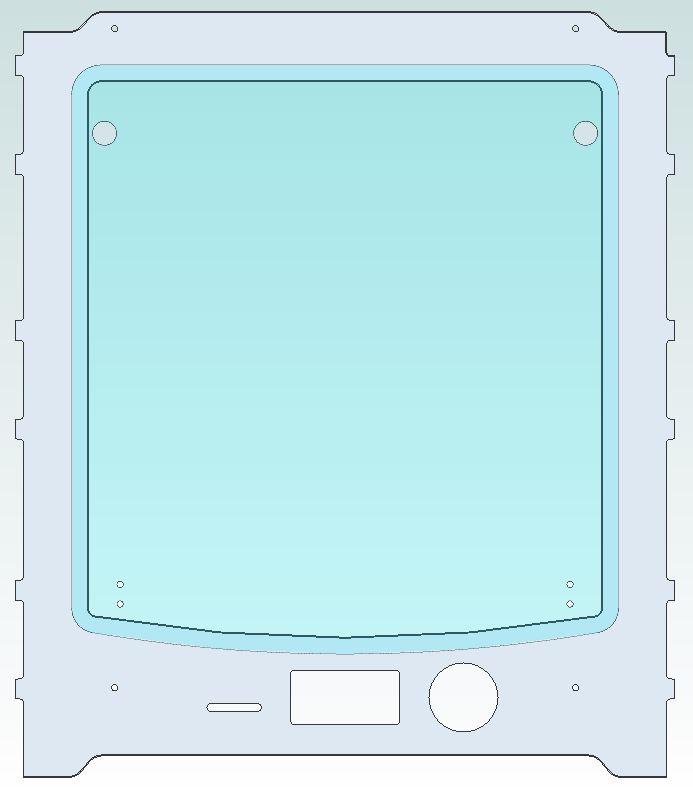
I imported the part to my CAD and drew the shape of the door ontop of it. My plate resembles the shape of the front opening but has a slight overlap:
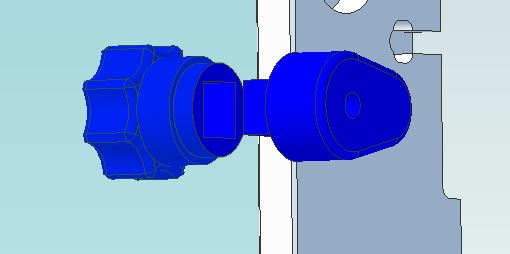
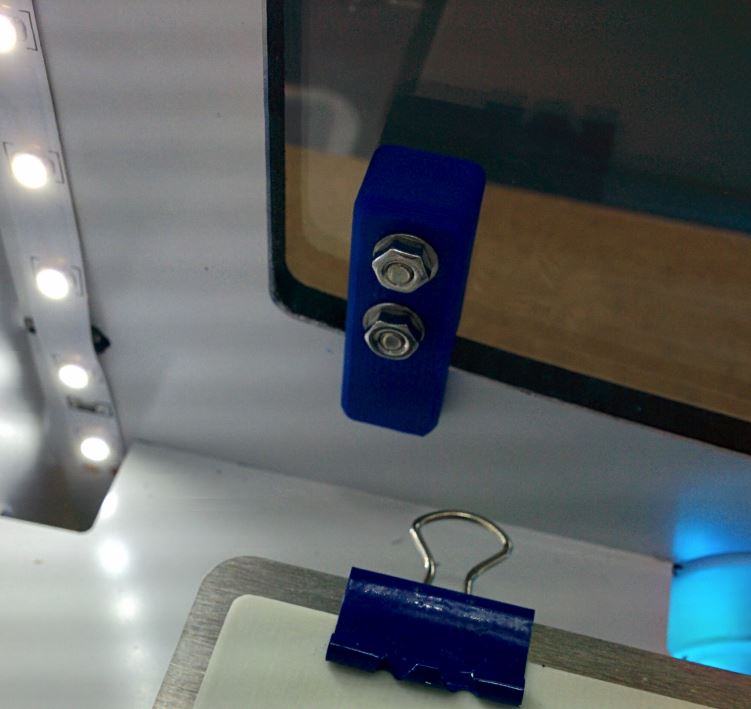
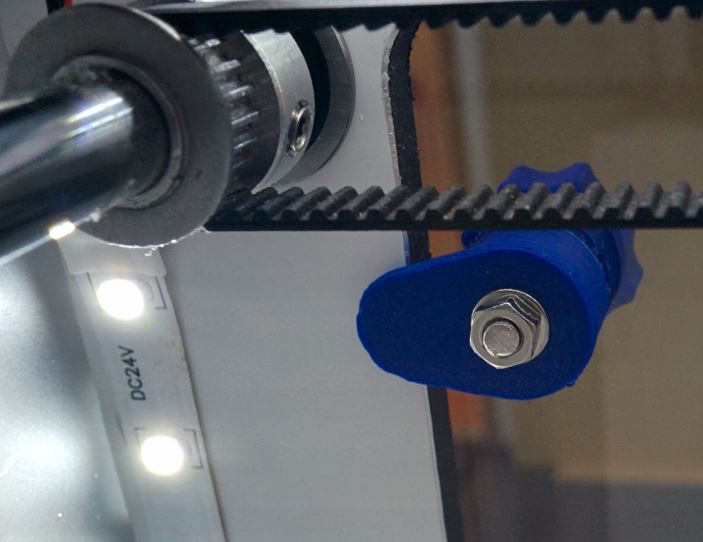
I then designed slide-on clamps to hold the plate at the bottom and turn locks to hold everything in place at the top. The outside knob of the locks features a square extrusion which mates with the lock on the inside:

When I was satisfied with the design, I printed the parts from ABS and milled the plate from acrylic using my CNC router.
I added a few screws, washers and nuts and the finished product turned out very nice:
I decided to publish my files in case others want to make this door.
As usually, I am sharing the STL files for the 3D-printed parts and a DXF for the plate under CC BY-NC-SA 4.0 license.
Download a ZIP archive containing all relvant files here:
Instructions
Print the locks, kobs and bottom clamps on your 3D printer.
You will need the knobs and locks twice, the bottom clamps differ between left and right and each is only needed once.
I printed mine from ABS with the following settings: 0.16mm layer height, 1.2mm wall thickness, 0.8mm top and bottom and 20% infill.
Cut the door plate from 300mm x 300mm x 3mm transparent acrylic or any other flat material of same thickness you like. A CNC mill or laser cutter will work great. You may also use online services to have the part made.
For the final assembly you will need the following additional material:
- 2x screw M3 x 35mm with countersunk head for the locks
- 4x screw M3 x 16mm pan head for the bottom clamps
- 6x washer M3
- 6x nut M3
If you don’t have the patience to print the parts or don’t have access to a CNC mill or laser cutter, I might be able to make the parts and sell them to you.
Please e-mail me at impressum@malte-randt.de if you are interested.
If this helped you, feel free to buy me some coffee.